Welcome to Day 5 of My 30 Days of Architectural Design In SketchUp Challenge, where I challenge myself to spend one hour daily using SketchUp for architectural design. On Day 4, things were starting to take shape. The shapes I drew were now beginning to look like a house. All I needed to do was add some more details before I could start creating realistic renderings.
Unfortunately, however, I didn’t get much done on Day 5. I still spent time working on this project, but other distractions caused me to do less than what I wanted.
Day 5 – Why We Don’t Party
My unproductive Day 5 stemmed from the day before when I was out late eating with friends. Being out so late led me to wake up very late in the day. I got up around 11 AM, and since I had to write a blog post and play badminton later in the evening, I was strapped for time.
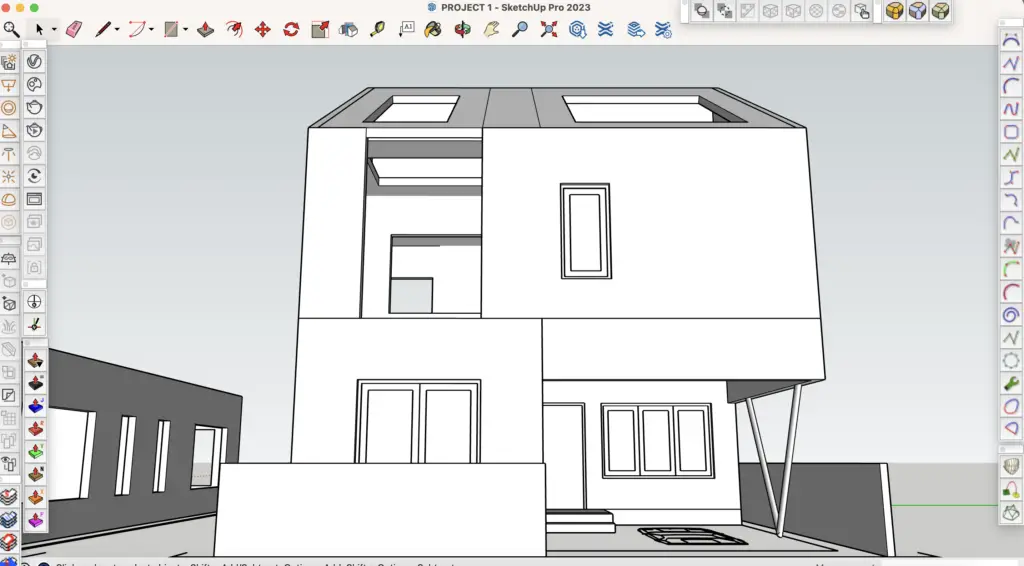
Admittedly, I’m writing Day 5’s post on Day 6, as I also got home late last night. However, I did manage to spend a bit of time working on the 3D model. As you can see from the image above, I’m now working on adding windows and doors and will spend Day 6 closing all the openings.
Creating Processes and Being Efficient
Modeling windows and doors continues to be an extension of what I learned from using Rectangle, Push/Pull, and Group tools in the last few days.
What’s unique about Day 5, however, is that there is a lot bigger emphasis on creating processes to be more efficient. I know I used to get stuck drawing windows and doors often, so to remind myself, the process for both windows and doors starts with drawing a rectangle that fills the opening.
Once I do that, make the rectangle a group and offset the edges by two inches (or however much is required for an outer frame) inward. Make the frame a group and the inner rectangle another group. Depending on how many window panes I need, I can divide a line in the inner rectangle into segments, create new rectangles, and group them. In these new rectangles, I once again offset the edges inward by four inches this time (or again, however much is the standard for your working location) and make the frame and inner rectangle separate groups. Now, I can go back and use the Push/Pull tool to adjust the thickness of each window element and copy inner window panes as needed.
Instead of redrawing each individual door and window, you can also make things a lot easier by copying and pasting. For example, each aspect of a window has the same thicknesses in one model. The window pane thickness will generally be the same across all windows, and the same goes for things like the frames. Make one good design, and reusing the asset throughout your model will save you so much time.
A Push To Get More Done
Otherwise, that’s it for Day 5! It’s time for me to catch up and make more significant progress in this challenge.